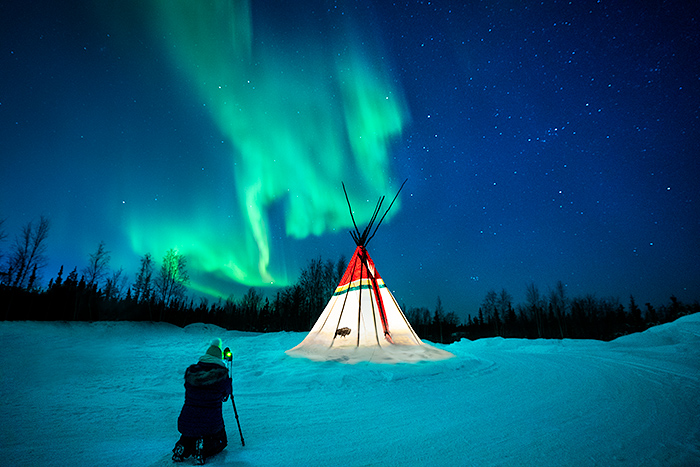
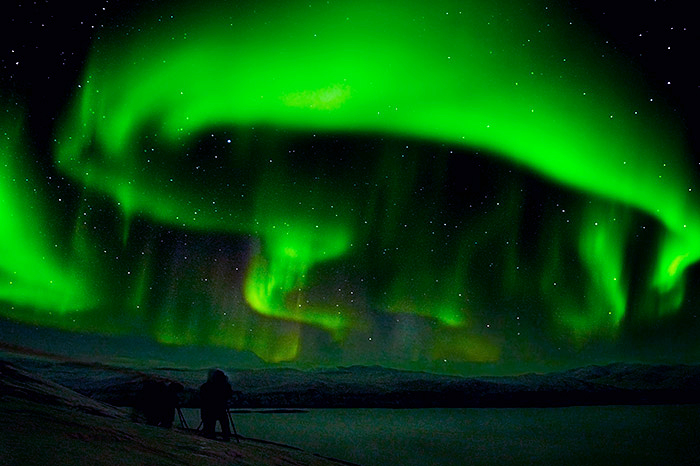
My daughter photographing the Aurora in Yellowknife, NW Territories, Canada
Photographing Aurora in winter has its own set of challenges. And ya best be prepared!!
Imagine this…
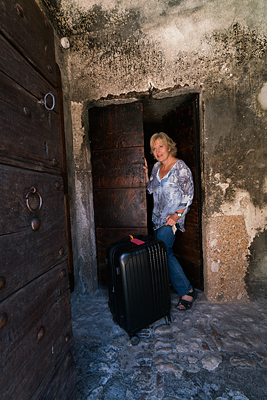
You’re standing outside on a winter night watching the sky, waiting for the northern lights. Your app indicates they will be very active tonight. Camera settings are locked in, sitting on a tripod beside you. Ready! Freezing temps make waiting almost unbearable. Chilly wind whips your face, numbing your fingers and toes. Suddenly the sky begins to shimmer in the distant north and your pain disappears. Faint green lights grow, magically turning into vivid swirling forms above you, dancing to faster crescendos in a silent symphony. Ah-mazing!!! While others stand transfixed oooohhhing and aaahhhing, you quickly reach for your camera to capture this stunning sight. But…the shutter won’t activate. You quickly change out the battery. No go. Your camera is frozen. Completely useless! Nooooo…
It happened to me.
I’d been taking pictures of the Aurora just fine thus far on that subzero night. And staying sufficiently warm despite temps dipping to -32 F. But my camera failed me at the very peak of the Aurora activity around 1:40am. Which, naturally, happened to be the most intense viewing of our 4 night stay in Yellowknife, Canada. Our Taiwanese guide was jumping around in excited glee, claiming these to be the best she’d ever seen. A magnetic solar storm created electric, energetic activity. Intense green lights pulsated, zigged and zagged directly overhead then spread across the sky, morphing into different patterns and shapes. You hardly knew where to look. And I couldn’t capture a single frame.
The frustrating part was that I really thought I had prepared my camera for the cold. I’d researched in advance and had taken many precautions for photographing aurora in winter temps, but there were still things I could’ve done to prevent this malfunction.
So how DO you best prepare to protect you and your gear in subzero temps?
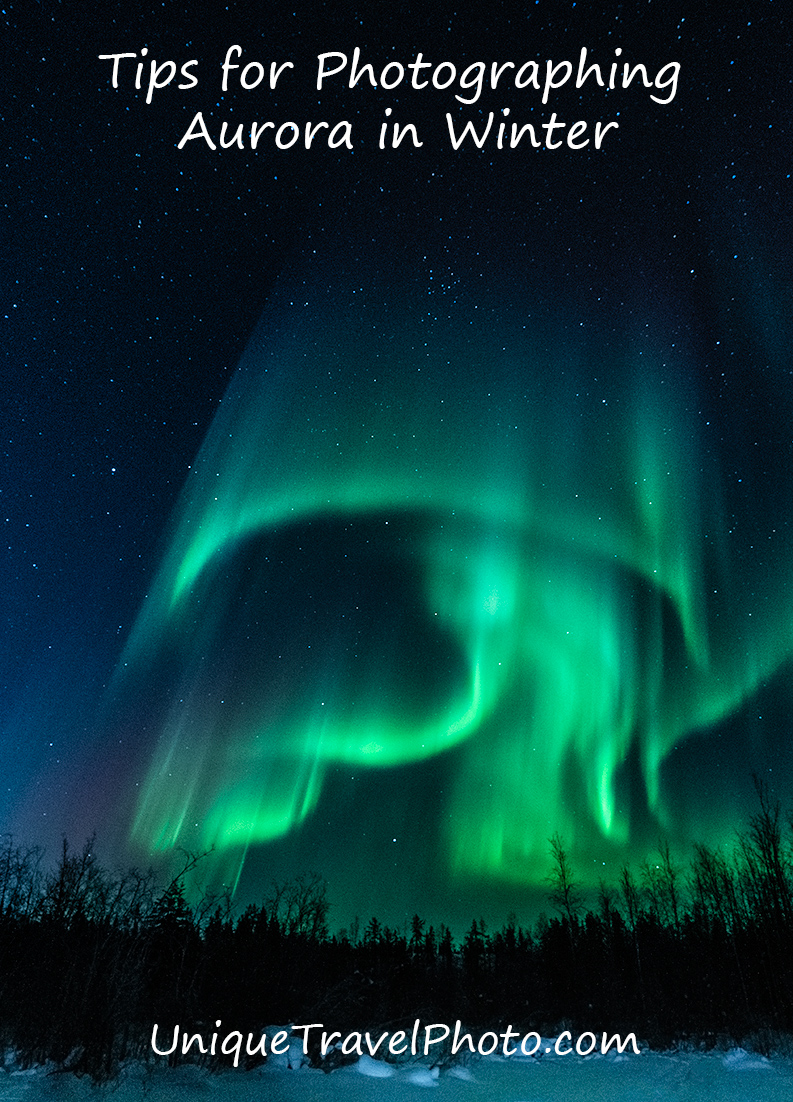
Tips for photographing Aurora in winter
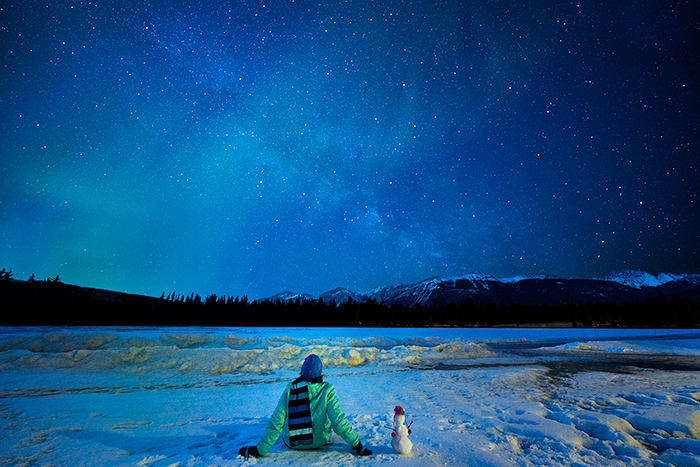
Watching the Milky Way and Aurora in Jasper National Park, Canada with my little buddy
Preparations to do in advance:
Set up your camera in advance (inside your cozy hotel room)
Insert a memory card designed to withstand cold temps
Steady shot stabilization OFF
Dynamic range assist OFF
Shoot in RAW and Manual Mode
Choose manual focus and remove focus peaking
ISO: 3200 (adjust in the field depending on ambient brightness of aurora/moon 800-1600)
Set Aperture to lowest setting (f/2.8) and Shutter Speed to 20 sec (adjust SS faster, 1-10 sec, to capture fast moving aurora)
Built-in intervalometer (if your camera has this): 1 sec delay, # of shots to take OR Self timer: 2 sec delay to avoid camera shake
White balance: 3200 or tungsten if no moon, 4200 if half moon, 5200 full moon
Decrease monitor brightness of LCD screen to more accurately detect the true exposure (use histogram over the LCD screen)
Use a 14mm fixed lens or 16-35mm wide angle lens to capture more sky
Practice using your gear with eyes closed and gloves on: turning on headlamp (red light), setting up and adjusting tripod, switching camera from horizontal to vertical and changing A and SS settings on your camera to prevent missed shots fumbling in the dark
Check list gear to bring outdoors
Airtight bag to store camera in before entering a warm room after shooting in the cold (a must!)
Headlamp that operates in red light (protect night vision/prevent ruining shots for others)
Sturdy tripod plus bag to add weight in the field if windy for stability (hang rock in bag from tripod hook)
Extra batteries to store inside warm pockets underneath your coat
Lens cover, plastic bag & lens hood (prevent frost when not shooting/prevent stray light from wrecking pics)
Battery brick and cord to plug into camera to keep batteries charged
Handwarmers to activate outdoors to wrap around camera lens with rubber bands to prevent freezing
Extra scarf to wrap around the tripod knobs to keep from freezing as long as possible
Clothing to Wear
Photographing Aurora in winter requires gear designed for arctic temps so don’t skimp!
Snowpants (windproof) to wear over long underwear/leggings
Heated battery-operated socks (these worked great!)
Arctic boots that withstand subzero temps (love these Baffins, keeps my toes snug every time!)
Fleece top mid-heavy weight layer over long underwear
Heavy parka with a hood to cut down the wind
Wool beanie hat and neck warmer or baclava
Windproof gloves with touch fingertips to operate camera buttons and touch screen, worn as liners under thick ski mittens (never expose bare fingers to the cold)
Aurora, Yellowknife, Alberta, Canada
Once Outside:
Fit headlamp over wool hat, practice using red light again with mittens
Secure tripod with weighted bag if windy, secure legs and knobs
Aim camera on tripod to face north and double check settings (ISO, A & SS)
Manual focus: prefocus on infinity taking practice shots of distant object or moonlight
Keep lens cover on until aurora borealis appear to prevent frost
Look for compositions in advance, scout out foreground objects
As the temps plummet, baby your tripod to avoid snapping off leg levers as the metal freezes
Periodically give you and your camera a break, tuck it inside an airtight bag and go inside
Shooting Aurora:
Exposure will vary depending on ambient light. Adjust SS and ISO as it changes.
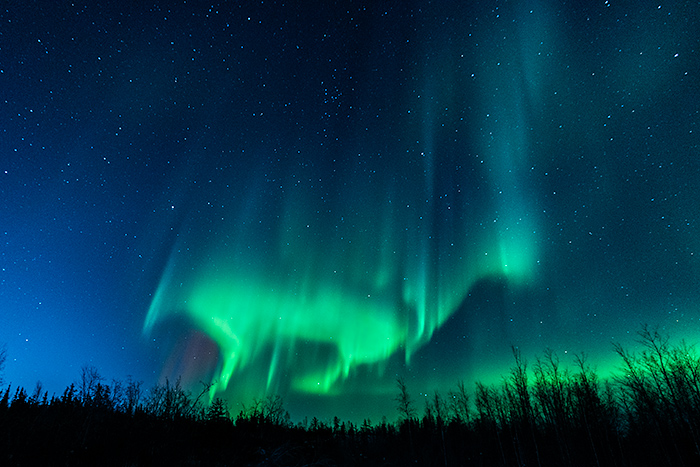
Faint brush strokes of aurora, barely visible: SS 20 sec, ISO 3200
Dancing aurora, vivid and bright: SS 1-10 sec, ISO 1600–3200
If moon out: SS 800-1600
Aim to capture the fast moving aurora as quickly as you can! Or the resulting photo may be a soft blur losing all distinct form.
Depend on the histogram ONLY. The LCD screen/viewfinder will make the image look much brighter than it really is.
Take a test shot and check the histogram, NOT the playback image. Don’t clip highlights or blacks. Green = 0.
Longer exposure…6 sec shutter speed
Compare these 2 exposures shot a few minutes apart. The faster SS below captures more distinct detail.
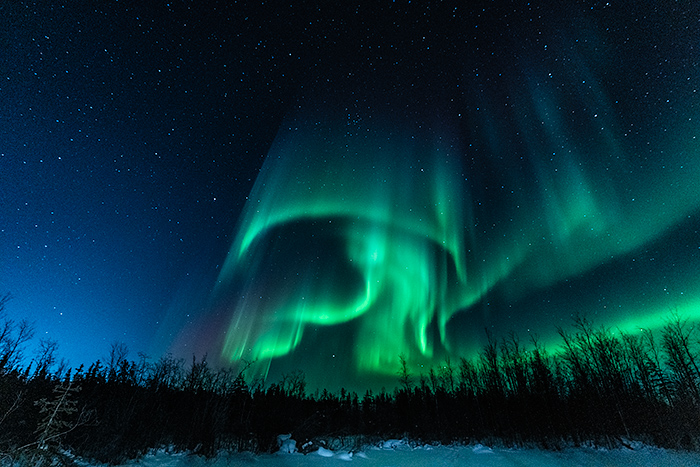
Faster exposure…3 sec SS
Focus varies in changing temps when photographing aurora in winter. So periodically check.
It might seem easy to set infinity focus during the day and just mark your lens for night time. But focus will change in fluctuating temps, so it’s wise to wait until you’re ready to shoot. And then keep checking as temps dip. Focusing on infinity is important if you want to capture the distinctive forms of the northern lights. But if you want to focus on just the foreground subject, like a cabin, and let the soft glow of lights blur behind it just focus on the cabin.
But how DO you focus in the dark?
For infinity: in manual focus mode, aim your lens at a distant light or the brightest star. Turn the focus ring until smaller stars come into visibility. Viola!
For closer foreground subjects: shine a flashlight on the object/person/building. Or increase ISO until you can see the subject.
*If you happen to shoot with Sony cameras, check if your model has bright monitoring.
My latest Sony model has this perk which I love for astrophotography! I customized this function to my AEL button. Pressing this momentarily brightens the scene allowing you to check composition & horizon level in the dark. Forget fumbling with flashlights or changing your ISO settings crazy high to see your subject. SWEET!
Once focused, take a test shot. Magnify to check. Then lock it in (meaning leave it alone and don’t nudge your lens).
Capture Timelapse or Fast-moving Aurora
Focused at infinity, choose A and SS for current aurora conditions. If active, use a fast shutter speed!
Activate intervalometer on your camera to capture successive images with one shutter click.
Abisko, Sweden years ago…my hubby under the Aurora on a very magical nite
Change Compostion to add drama and depth
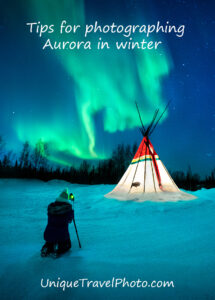
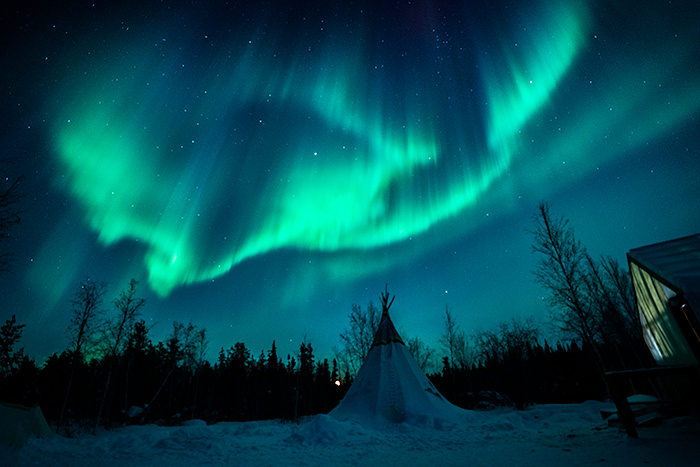
Find a foreground subject to anchor the scene like a cabin or teepee to establish the place or add intrique
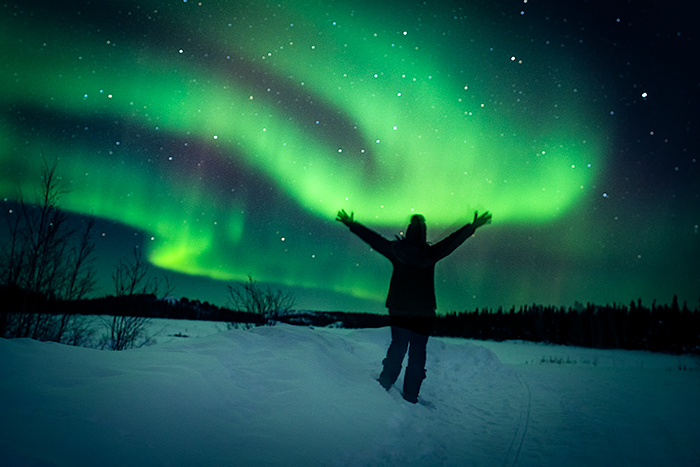
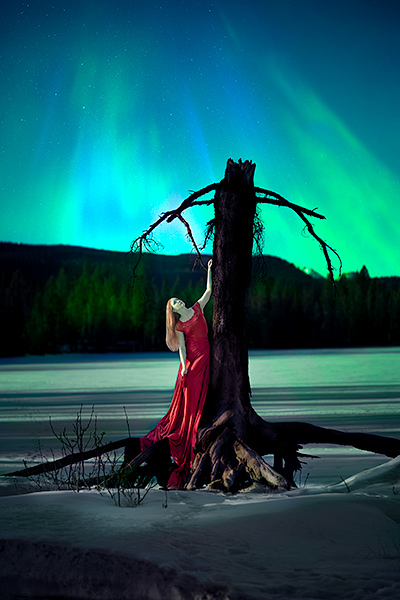
Use yourself as subject for human interest or others around you
Look for reflections in open water or ‘watered’ wet ice
Shoot vertical: 2/3 of frame should be sky
Shoot horizontal: create panoramics when dancing across the landscape
Symmetry: mirror reflection, placing horizon of wet ice/melting water in middle of the frame
Human interest: rule of thirds or smack in middle of scene (stand 65 ft away from wide angle lens to be in focus). Personally love to include people in the shot for scale & interest.
Take 2 photos when shooting foreground subjects that have different distances & exposures than Aurora
Focus stacking: focus on near object, then refocus on infinity for aurora (combine 2 pics later in Photoshop). Sony’s bright monitoring feature shines here, saving time and effort to ‘see’ the subject and the compostition.
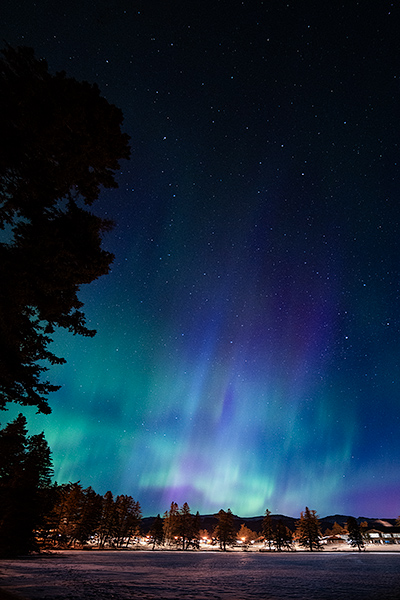
This Jasper National Park Lodge shot needed exposure stacking or would’ve been extremely overexposed
Exposure stacking: when foreground subject is really dark, lengthen SS to bulb setting and lower ISO (depending on your camera model) to remove grainy noise. Example: keep SS open for 2-3 minutes at ISO 800 – 1600. This way you can capture the foreground clearly AND expose the Aurora correctly without noisy grain in your image. This works for landscapes–people can’t sit still for minutes without blur.
If your subject is a object or person in close proximity, use lights to shorten the exposure. Bounce an external flash into a reflector or use a diffused LED video light. Then combine the 2 pics later in Photoshop.
Exposure stacking needed or Sasha would be in the dark
During lulls in aurora activity
Don’t forget to replace your lens cap to prevent frost build up. Check battery warmers–still hot? Secured around lens?
Throw a loose plastic bag around your camera to help keep out the wind, cold, snow and frost.
Dream up creative ideas to capture. Look for different foreground subjects. Or make one, like a snow angel or mini snowman.
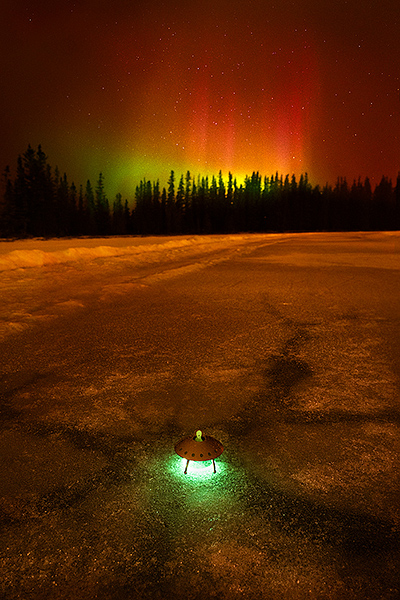
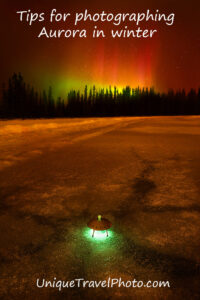
I brought this little alien spaceship with me to Jasper NPk hoping to find cracked ice like this! The sky was a bizarre orange color, casting orange on the frozen lake, nicely adding to the eerie feel in the scene.
Get creative… add light!
Silhouette: Place light behind person (aimed at their back) so silhouetted figure shows up in the pic.
Portrait: add a low light (LED) in front of person to illuminate face and body. Or bounce an external flash into a reflector.
Selfie: stand on pre-focused spot with back to camera and shine flashlight at chest with eyes closed, or turn on headlamp light head tipped up to sky.
Light paint foreground object: stand away from camera and close to the object. Use a dim light to scan across the foreground object a few secs during the pic. Could be strange cracks in the ice, snowshoes, a mini snowman, teepee, fur hides hanging from a post, or anything specific to your particular place.
Action: light paint a person skating, hiking, ice fishing or twirling under the stars (fast SS shot combined with aurora pic in PS).
Lume cube or battery-operated candlelights: add a soft glow to teepee, igloo, or deep tracks in the snow. This lume cube lets you adjust the light level with a phone app!
Glow sticks: get creative with your ideas & props and have some fun—I used a green one under my little alien’s spaceship.
Light tubes: add shapes and patterns around a person by controlling the position and movement of the tubes. I had fun learning about the process with Jasper Photo Tours while waiting for Aurora to appear. (Woulda been a cool foreground subject, but Aurora didn’t appear till much later, around 4am.)
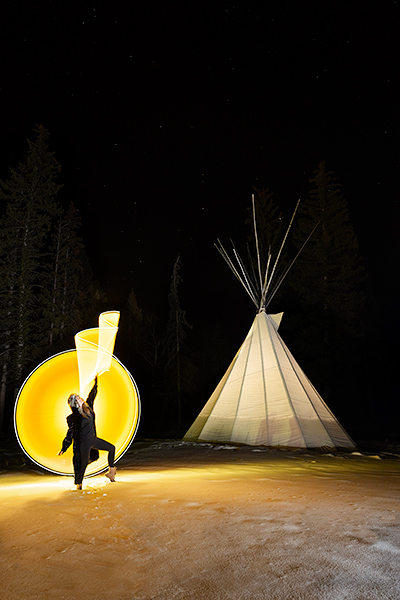
Light painting with light tubes while waiting for Aurora
Before you go inside:
After photographing Aurora in winter it is very important to tuck your camera away in an airtight bag BEFORE running into the warming hut or your hotel room!
Otherwise condensation could wreck havoc on your lens and damage the electrical components of your camera. To keep moisture at bay, keep it protected inside a bag until it thaws and warms up to the ambient temperature.
If you’re just taking a break and intend to go back outside to shoot again, enclose your camera inside an airtight ziploc bag before entering the hut. Don’t open the bag until back OUTSIDE.
Heading home? Remove battery. Enclose your camera inside an airtight bag. And LEAVE it there for 4-5 hrs. Don’t be tempted to see your images until morning.
Yeah, I know that’s hard.
I made that mistake in Yellowknife.
Worried sick that my camera wasn’t working (how dare it quit during the most active aurora of the night!), I couldn’t resist checking to see if it was alright. It had been a couple hours since we were home. Reaching in my bag, my camera felt somewhat thawed. So I took it out, inserted a fresh battery and turned it on. In playback mode, the display read, No files.
My eyes popped open. NO FILES?!? They’re all GONE?!!! Fearing condensation or the extreme cold had corrupted my files, I quickly turned off my camera and shoved it back into the bag. And tried to sleep.
The next morning, my camera still displayed No Files. I’d been using a Sony TOUGH SF-G series memory card meant to withstand the most extreme conditions. Frustrated, I did a quick search online but couldn’t find any answers. Or anyone else complaining about this issue. About noon, I checked my camera again. This time, my files had miraculously reappeared!! What a huge relief! My memory card DID withstand temps on that freezing night. Not sure others would have.
My camera was just reeeally cold.
I guess the lesson is to be extra patient when photographing Aurora in winter. Let your camera gradually adjust to your warm surroundings–that night for me it was a 100 degree difference! Resist the urge to peek and just leave it in the bag. Condensation certainly isn’t worth it.
And during the night, even if you’re not cold, your camera probably is. Periodically go inside (after bagging your camera) to prevent it from freezing later– when you might want it most. After all “Magic midnight” to 1:30am is typically peak Aurora activity, at least far north up in Canada’s Northwest Territories.
Thankfully my camera was absolutely fine, and I continued shooting Aurora in subzero temps on subsequent nights.
![]()
For more info on Aurora Viewing in Yellowknife and the tours I recommend, check out this earlier post.
~~~~~~~~~~~~~~~~~~~~~~~~~~~~~~~~~~~~~~~~~~~~~~~~~~~~~~~~~~~~~~~~~~~
Pin a pic to your Pinterest board to read later!